
 I had most of the lumber delivered the week before and Scott(Framer) was planning to start on Monday May 13th but the weather did not corporate until the Thursday. By the time I got there as I was on night shift, Scott was there with his assistant Shawn and had string lines all set up. He informed me that the floor was a bit out of square but it was nothing he could not fix. The first week involved squaring things up and preparing all the doorways and windows. It didn't take me long to confirm my feelings about Scott that I made the right decision. His attention to fine detail was very impressive. Scott would mark out the bottom and top plates and Shawn and myself would place all the lumber, doors or windows into the appropriate place then nail it all together. When a full wall was done, we would stand it up and tack into place, some walls were pretty heavy. This was very exciting to see the walls going up and the house starting to take shape. Now Lisa could finally get excited because blueprints didn't mean much to her, now she could start seeing rooms.
The first wall that went up was the kitchen wall with the 7ft high sliding door, the view from here is incredible, many a coffee will be enjoyed while enjoying this view.


.JPG)

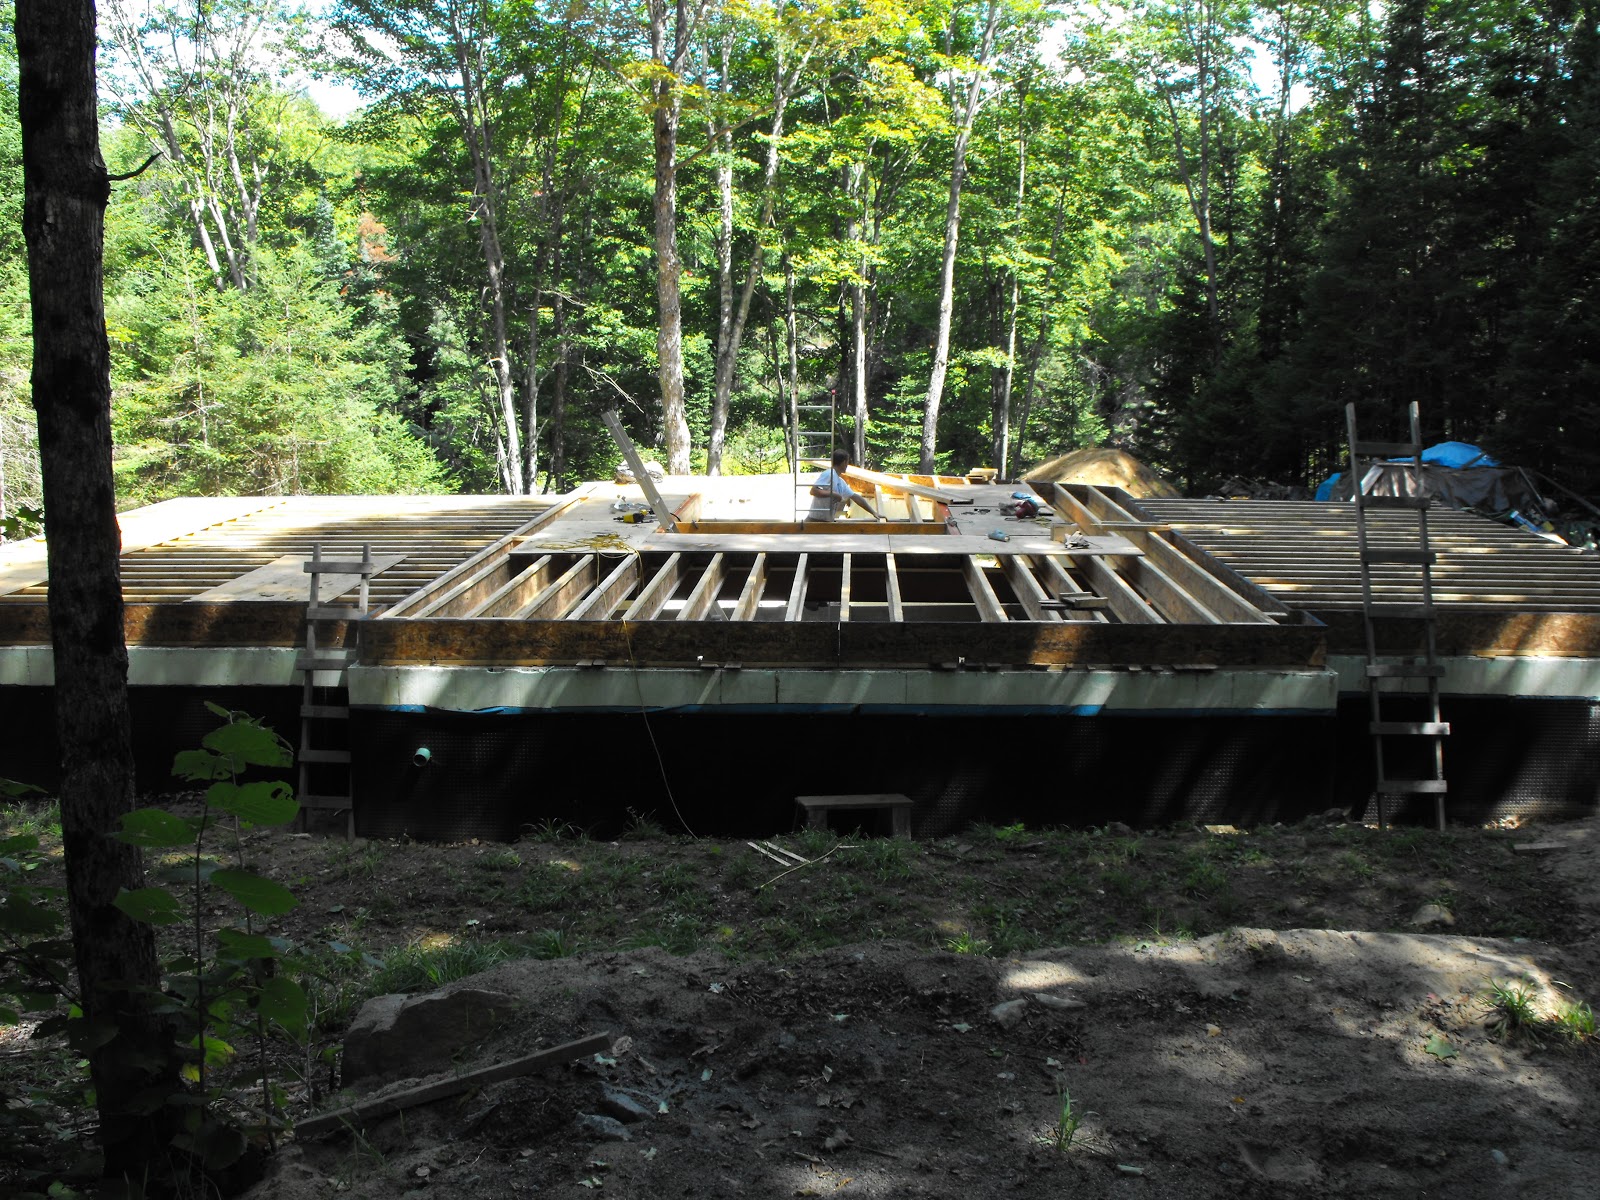
.JPG) With this shipment was the material for the loft, in the picture above you can see orange lumber, those are LVL's (Laminate veneer Lumber) very strong lumber. As the house is an open concept design and has large open spans, this floor is engineered and calls for these LVL's. The wall between the kitchen and living room has a large open span, I didn't want any beams or poles in the middle of the floor so that's where these LVL's come in. It was engineered to have 3- 17ft by 14 inch by 2 inch thick LVL's across this opening. Because these are engineered, when attaching these together to make 1 beam, they come with very strict instructions. These instructions include type of glue, amount and size of nails and nailing pattern. We found with the amount of nails and the hardness of the lumber that air nails would bend and hammers would be hard so we used a palm nailer and that saved a lot of time and wining. Joining all 3 LVL's would be too heavy to lift, we put 2 together and tacked them in place then attached the 3rd LVL to the first 2. With all that done, we were now ready to start working on the loft, which was very exciting because the view from the loft is fantastic. I knew the roof wouldn't be long after this and hopefully done while I was away!
With this shipment was the material for the loft, in the picture above you can see orange lumber, those are LVL's (Laminate veneer Lumber) very strong lumber. As the house is an open concept design and has large open spans, this floor is engineered and calls for these LVL's. The wall between the kitchen and living room has a large open span, I didn't want any beams or poles in the middle of the floor so that's where these LVL's come in. It was engineered to have 3- 17ft by 14 inch by 2 inch thick LVL's across this opening. Because these are engineered, when attaching these together to make 1 beam, they come with very strict instructions. These instructions include type of glue, amount and size of nails and nailing pattern. We found with the amount of nails and the hardness of the lumber that air nails would bend and hammers would be hard so we used a palm nailer and that saved a lot of time and wining. Joining all 3 LVL's would be too heavy to lift, we put 2 together and tacked them in place then attached the 3rd LVL to the first 2. With all that done, we were now ready to start working on the loft, which was very exciting because the view from the loft is fantastic. I knew the roof wouldn't be long after this and hopefully done while I was away! I was now on my way to England and had given Scott the permission to make any decisions and order anything he needed, which would be paid upon my return. As much fun as I had on my vacation I was always wondering how the house was coming. We arrived home late Friday afternoon and Saturday morning we were on our way to see the progress of the house. It was like Christmas, I was so excited. When we got close I could see some roof through the trees and as I pulled down the driveway 1/2 of the roof was done, the master bedroom and kitchen sides of the house were complete.
+-+Copy.JPG) Now it was really starting to look like a house.The following week Scott and the crew would be working on the rest of the roof, which would be a little more tricky due to the height of the roof. I wouldn't be there for that part either because I would be back at work, timing is everything. When I came up the following Monday, this is what I saw (below) Wow.
Now it was really starting to look like a house.The following week Scott and the crew would be working on the rest of the roof, which would be a little more tricky due to the height of the roof. I wouldn't be there for that part either because I would be back at work, timing is everything. When I came up the following Monday, this is what I saw (below) Wow. 
The prow front involved some detailed work so Scott and his crew worked on that while I worked on installing the 1 inch foam insulation on the outside. These sheets came 9ft x4ft x 1in. with a tongue and groove edge. The sheets had to be nailed with special nails and we needed to ensure they were nailed into the 2 X 6's.
I only took a few days to get all the foam sheets on the house. The slow part of this process was that all seams had to be taped with the red tuck tape.

While I was in the basement starting to level all the gravel, I had my septic system put in which I had nothing to do with except to pay for it. I tell a lie, I got a phone call at work on Friday from the septic guy telling me he was going to start Monday and there were 2 big trees where the septic bed was going, so they would need to come down. He had a guy that he used that could come on the Monday and the cost would be approx.$650.00. I told him they would be down by Monday. So Saturday morning I headed up to the house with my chain saw (and new chain) and lots of rope. As usual as soon as I got there I was met by my neighbor, Keith and I told him my plans for the day. The trees were bigger than I remembered and I was having second thoughts about taking them down, because if they fell down in the wrong direction they would either hit the house or Keith's house. Keith was confident that we could do it, the first tree came down easily and exactly where l wanted it to go. That's not the one I was concerned with. This tree was an old birch that was very rotten at the top so I climbed the ladder and cut a big branch off which made it a tall thin piece of wood. Extended the ladder to it's max (28ft) stood on the tip of the ladder and tied a rope as high as I could reach. Keith went to his brother's place to get a chain come-a-long. We anchored the come-a-long to a tree 100 ft away and attached the rope that I had tied to the tree. Took up the slack in the rope then started cutting the tree at the base while Keith kept cranking on the come-a-long, pulling the tree in the direction we wanted it to fall. I had finished my cuts and went to help crank the come-a-long, The tree fell exactly where we wanted it to fall and it only took 45 min for both trees. I won't lie, I was very relieved when the second tree was down.

 Monday morning the septic guys arrived and were very surprised the trees were down; I showed them! It only took them 3 days to finish the job and I must say they did a great job, the guy on the machine was impressive and the installer was a perfectionist and it showed. I had to head back to work. I had arranged for them to stay another day to put in a parking area and put in a swell at the side of the house to direct the water away from the house and down to the river.
Now with all this done, all that is left is to install the windows and have the basement poured. The floor in the basement needed some leveling because the stone slinger does a great job but it's not cement ready. Leveling the gravel in the basement was a bigger job than I thought so I had the crew from work give me a hand. It was something to see! I had in my head that we would only have time to do half of the floor that day. I didn't want to be too much of a slave driver because they would say I do that at work. It was a hot, humid day when they were coming up, luckily it was a lot cooler in the basement. They arrived at the house after 12 noon and by 2:45 they had finished leveling the whole basement, had lunch, gone for a swim, drank my beer (there is a story about that) and were on their way home. If you ever want some serious work done, get a group of firefighters. The story about the beer is that I didn't buy enough. I only bought a 6 pack (I know, cheap bastard and a non-drinker). The year before I had the guys up to help me put the floor in. I had bought a 12 pack and came back with 8 and there had been 2 more guys so that's why I only bought the 6 pack. Well, being a hot day all the beer was gone in a heart beat and I took a verbal beating for not having enough beer and to this day I still hear about it. I told them next time there will be plenty of beer and they have told me that there might not be a next time(jokingly).
I wanted to put some rigid foam on top of the gravel and still had some rough in plumbing to do before the cement guys came to pour the floor. Marty and Bill came up and gave me a hand with this, all I wanted to do was to put in the sewage ejector and lay a piece of 3 inch pipe. My plumber friend Ian would help me connect it all together.


 shovel and took it across the road and threw it in the woods. We finished putting down the ridged foam and now all that needed to be done was for Ian to come and finish roughing in the bathroom and laundry tub. I arranged for the cement guys to come the following week and pour the basement floor, which meant I was done for the year. I had exceeded what I had planned doing for this year.
This is how the house looked when all the work was done for the year 2013


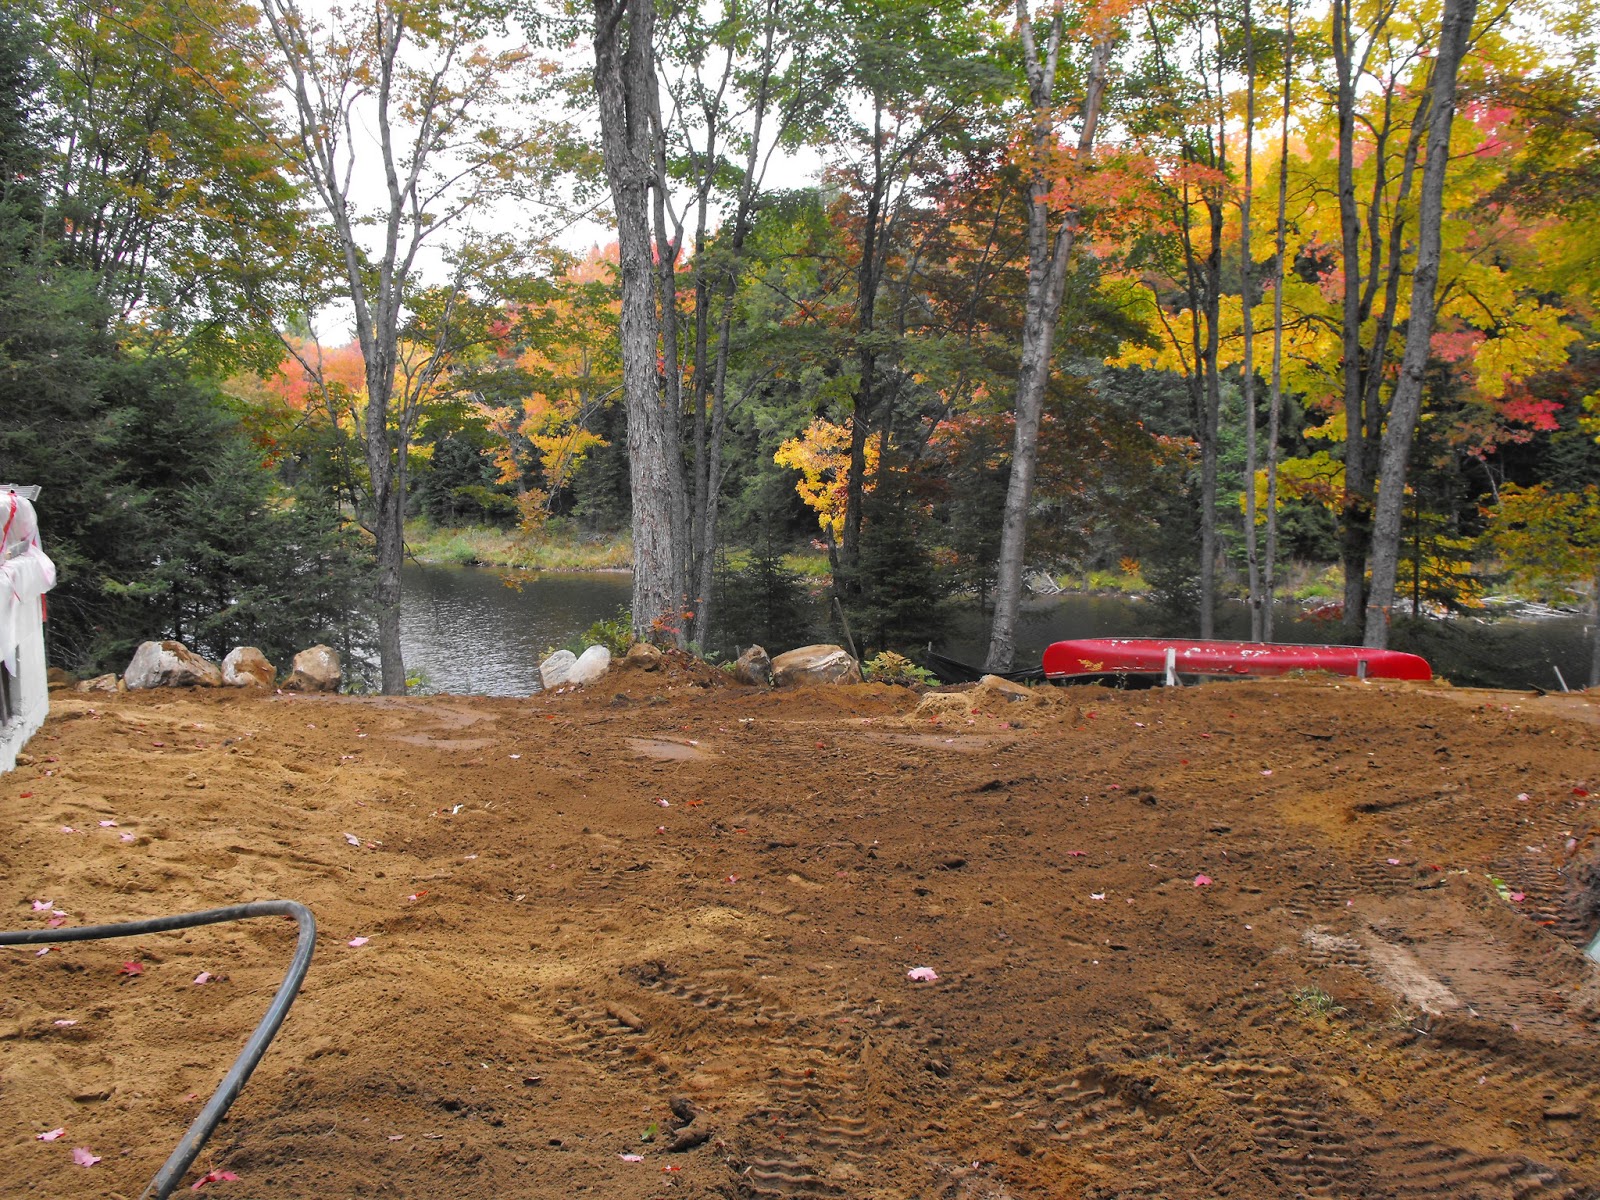


.JPG)


