I had mentioned in previous blogs that my basement was going to be an ICF basement (Insulated Cement Forms). I choose to use the Nudura product. I will give you a little background information on this before I explain the installation process. Nudura Insulated Cement Forms consist of two lightweight 2 5/8-inch thick expanded polystyrene (EPS) foam panels. These EPS panels are connected with high-density polypropylene hinged web/fastening strips every eight inches. The Nudura wall system completes 6 building steps with one product providing:
- The concrete form system
- Wall structure (structural reinforced concrete)
- Insulation
- Air barrier
- Vapour barrier
- Interior and exterior finish anchorage
Having six wall elements in one product eliminates building steps and allows the building project to be completed faster and more efficiently. Nudura has the longest forms in the industry, while most systems feature forms at 4 feet in length, Nudura forms are 8 feet long and 18 inches high. Another feature I really liked was that each form and corner form are fully reversible, having no left and right corners to have to worry about dealing with during construction is nice (mistakes and miss counts do happen, especially with me).
 |
| Setting up the layout |
My walls are the 6 inch form which means that I will have 2 5/8 foam, 6 inches of cement then another 2 5/8 of foam giving me a R value of approx. 23. That is a a very quick summary of Nudura ICF. There is a lot more information and forms to suit any style of building. This information I have stated relates mainly to the application of my basement.

Now that I have the layout marked on the footings, I can start installing the Nudura forms. One thing I must stress it to make sure you stage all the material in the inside perimeter of the footings. I started in one corner and worked in a clockwise directions placing corner forms first. Now with all the corners in place I started placing the 8 foot standard forms from the corners working towards the centre of that wall. The last piece of standard form needed to be cut to finish off the wall, no tape measures are really needed at this point. Place the form over the open space and mark the spot and cut it with a big exacto knife. On the form there are cutting groves every 2 inches and an imprint every 8 inches marking the support webs. I marked the piece that I had to cut so I would know what to cut on the third course. The measurement looked like this 4w2g which stood for 4 webs 2 grooves. The 1st,3rd, and 5th courses would be the same layout and the 2nd.4th, and 6th are the same. After the first course was done I had to put horizontal rebar in the forms. This is an easy process as the plastic webs have a slot to put the rebar. Referring back to my installation manual, it states that the forces from the ground(backfill) would be on the inside of the wall so the rebar had to be placed on the slots on the inside of the basement wall. If I build the entire house from Nudura, any floor above grade, forces would be on the outside of the wall meaning that the rebar would have to be placed in the slots on the outside.
 |
| Placement of rebar |
 |
| Support set up |
 |
| Placing vertical rebar |
On the 2nd course I would put the horizontal piece of rebar in the outer slot and 3rd course back to the inner slot. This creates a nice little channel so when its time to place vertical rebar, it's kept in place. All the specs for rebar placement and diameter of rebar can be found in the installation manual. All charts are engineered and have an engineers stamp, the building inspector might want to see this information. After the second course is done and all the horizontal rebar is in place, form lock has to be installed. This adds support and straightens the forms. Now before I go any further I have to make sure everything is level, a little work now, prevents a lot of work later on. Using an electronic level makes this step go quickly. I had to shim some spots but overall I was pretty level. Before I started the 3rd course I had to attach the forms to the cement footings and this is done by spraying foam from a can to the join where the Nudura form meets the cement. I was really surprised how sturdy everything was once the foam dried which didn't take long. After the third course, supports(braces) needed to be placed in position for 2 reasons. First for support when the cement is poured into the forms and second, the supports (braces) act as scaffolds. After the third course the wall is 54 inches high and I will be going 6 courses high for a total height of 9 ft. As seen in the picture the supports are placed 5-6 feet apart. Brackets are attached onto the supports to hold boards. When all is said and done you are able to walk all around the inside of the basement like scaffold. The last few courses went up pretty quick as all the set up, measurements and leveling had been done. Now with the walls complete all that needs to be done is to the placement of vertical rebar. Since the front of the house was going to have a good amount of back-fill against the walls, I had to use 15M (5/8) rebar spaced every 400mm (16 inches). The rest of the house I could have gotten away with 10M (1/2) rebar but like I stated early, I can't do this again and I like to over build than under build.
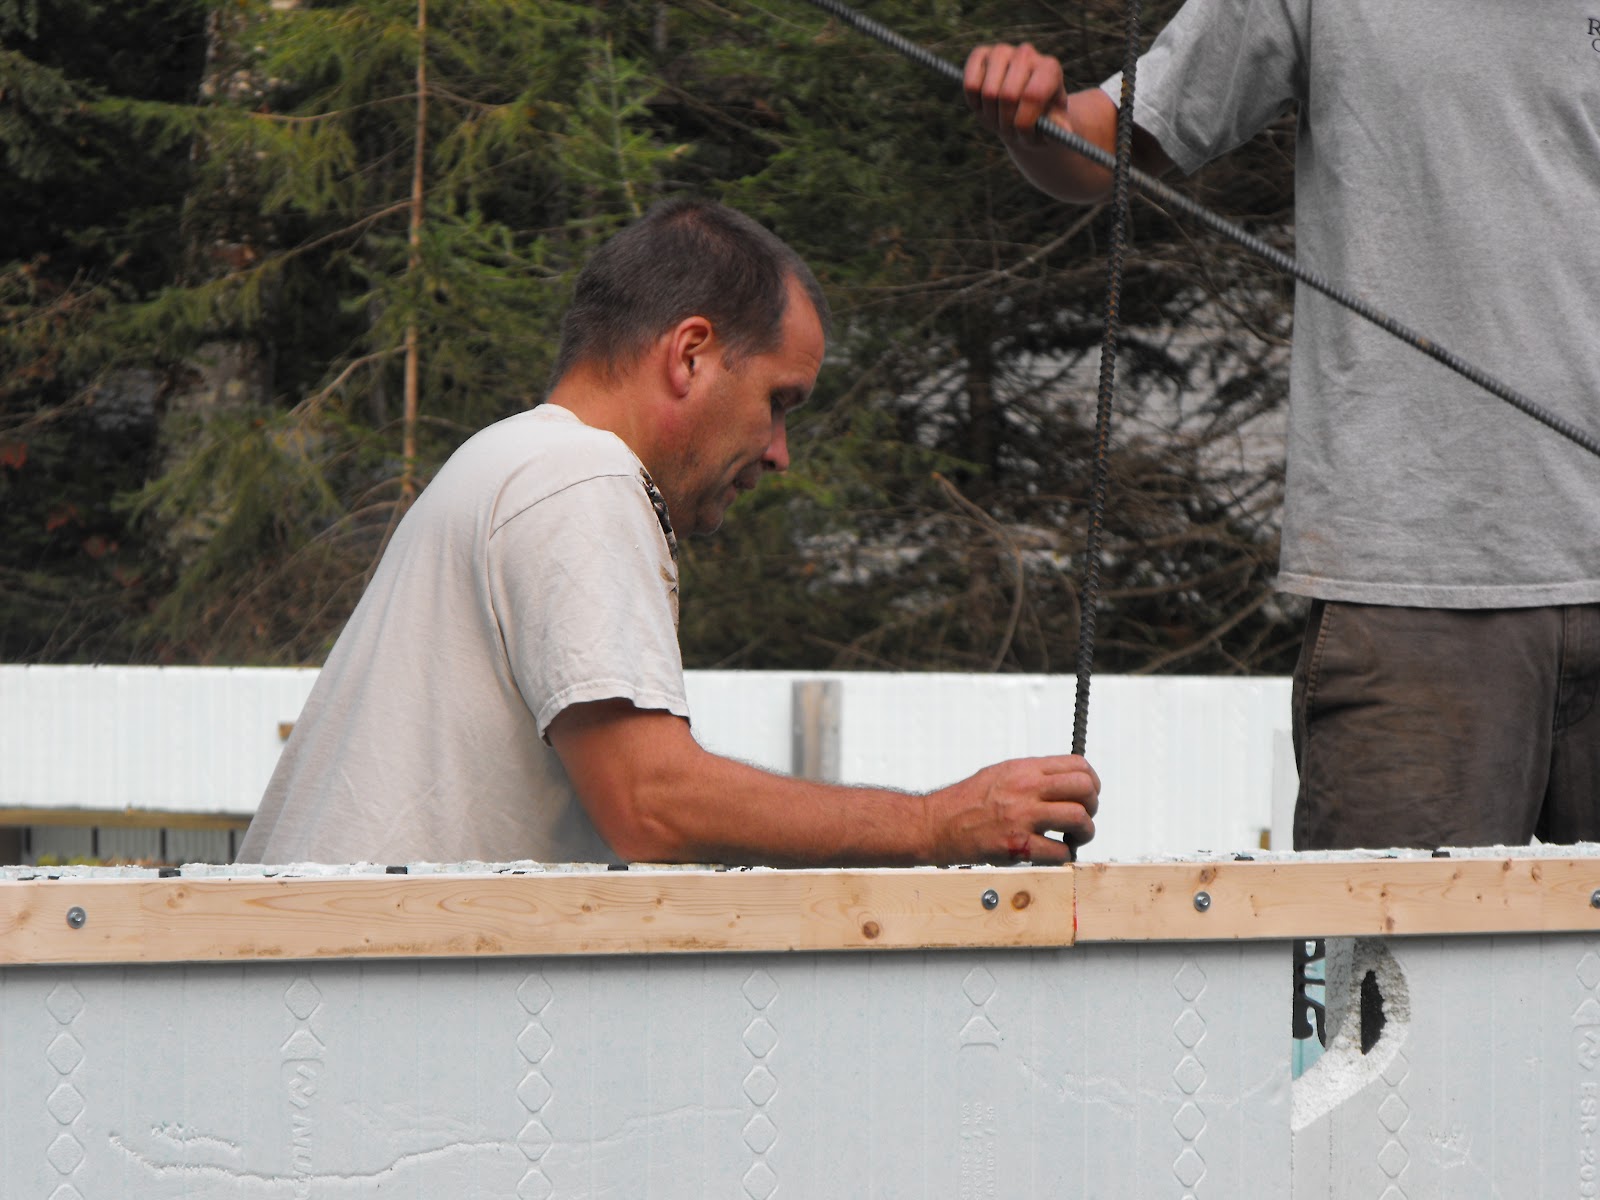
 |
| Fighting with the rebar |
Finally, we completed everything that needed to be done. The salesman for Nudura said that he would come and do a pre-pour inspection with me to make sure everything was in place. He suggested a few areas around the windows that needed extra braces. Once that was done I was ready for the building inspector to come and inspect the basement. His only concern was that there were no stirrups( a type of rebar reinforcement) over the windows. I informed him that any window 5 feet and under was not required to have stirrups. All this information is found in the Nudura manual. The inspector signed off on the basement and now it is on to the next step. POURING THE BASEMENT.

 Now that I have the layout marked on the footings, I can start installing the Nudura forms. One thing I must stress it to make sure you stage all the material in the inside perimeter of the footings. I started in one corner and worked in a clockwise directions placing corner forms first. Now with all the corners in place I started placing the 8 foot standard forms from the corners working towards the centre of that wall. The last piece of standard form needed to be cut to finish off the wall, no tape measures are really needed at this point. Place the form over the open space and mark the spot and cut it with a big exacto knife. On the form there are cutting groves every 2 inches and an imprint every 8 inches marking the support webs. I marked the piece that I had to cut so I would know what to cut on the third course. The measurement looked like this 4w2g which stood for 4 webs 2 grooves. The 1st,3rd, and 5th courses would be the same layout and the 2nd.4th, and 6th are the same. After the first course was done I had to put horizontal rebar in the forms. This is an easy process as the plastic webs have a slot to put the rebar. Referring back to my installation manual, it states that the forces from the ground(backfill) would be on the inside of the wall so the rebar had to be placed on the slots on the inside of the basement wall. If I build the entire house from Nudura, any floor above grade, forces would be on the outside of the wall meaning that the rebar would have to be placed in the slots on the outside.


No comments:
Post a Comment